
Get started
Install and connect
Two approvals: one in HubSpot, one in Intercom. After that, conversations start arriving in HubSpot on their own.
Who can do it
- In HubSpot: a super admin, or a user with the App Marketplace Access permission.
- In Intercom: a teammate who may install apps in the workspace.
Steps
Install in HubSpot
Open the YTI Sync listing in the HubSpot App Marketplace and choose Install (or open sync.yti.digital/install). Pick the HubSpot account and approve the permissions: contacts and companies (read, and create when you allow it), notes, and tickets. See Permissions and data for why each one is needed.Choose where your Intercom workspace is hosted
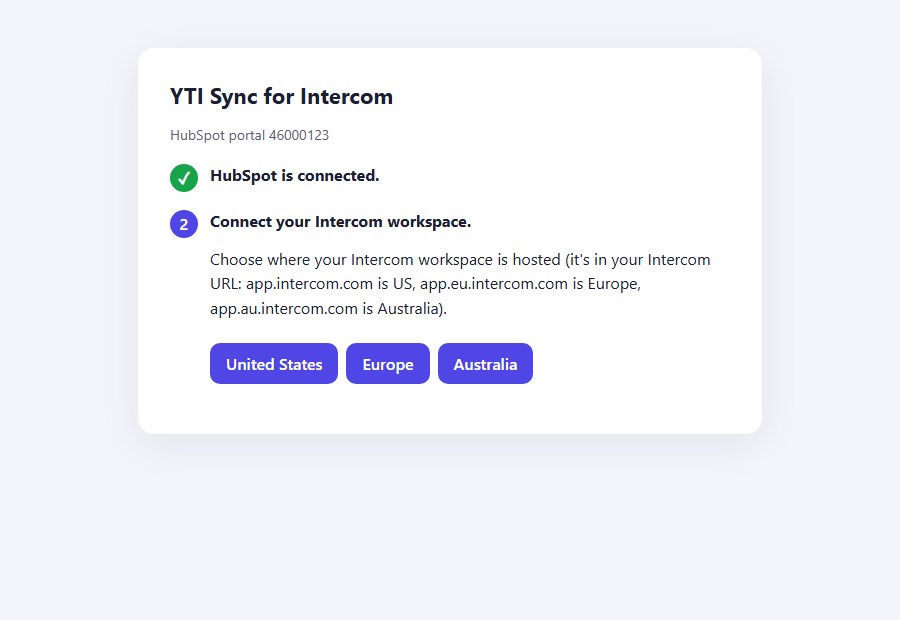
The setup page that opens asks for your Intercom region. It is in the address you use for Intercom: app.intercom.com is the United States, app.eu.intercom.com is Europe, app.au.intercom.com is Australia.Approve in Intercom
Intercom shows what YTI Sync may read and write. Approve it, and you are back on the setup page with both steps ticked.Done
New conversations are logged as they happen. The conversations of the last 30 days are added in the background over the next minutes, oldest first.
Where to find it later
In HubSpot, click the Marketplace icon in the top bar → Connected apps → the My apps tab → YTI Sync for Intercom → the Settings tab. That page shows the connection, your plan and this month's usage, every setting and the sync log. See Settings and sync log.
What happens first
| When | What happens |
|---|---|
| Right away | New Intercom conversations and replies are queued for HubSpot |
| Within minutes | The last 30 days of conversations are written, a few seconds apart |
| On the Free plan | Up to 50 conversations a month are logged (the backfill counts toward them) |
Configure, disconnect, uninstall
- Configure: what is logged, contact and company creation, ticket pipeline and stages, HubSpot fields in Intercom — see Settings and sync log.
- Disconnect Intercom: in the settings, under the connection. Syncing stops; notes and tickets in HubSpot stay.
- Uninstall: Marketplace → Connected apps → My apps → Actions → Uninstall. What happens to your data is described in Uninstall from HubSpot.
One Intercom workspace per HubSpot account
A HubSpot account connects to one Intercom workspace, and an Intercom workspace to one HubSpot account. To move a workspace to another HubSpot account, choose Disconnect Intercom in the settings of the first one, then connect it from the second.